Last updated November 22, 2026
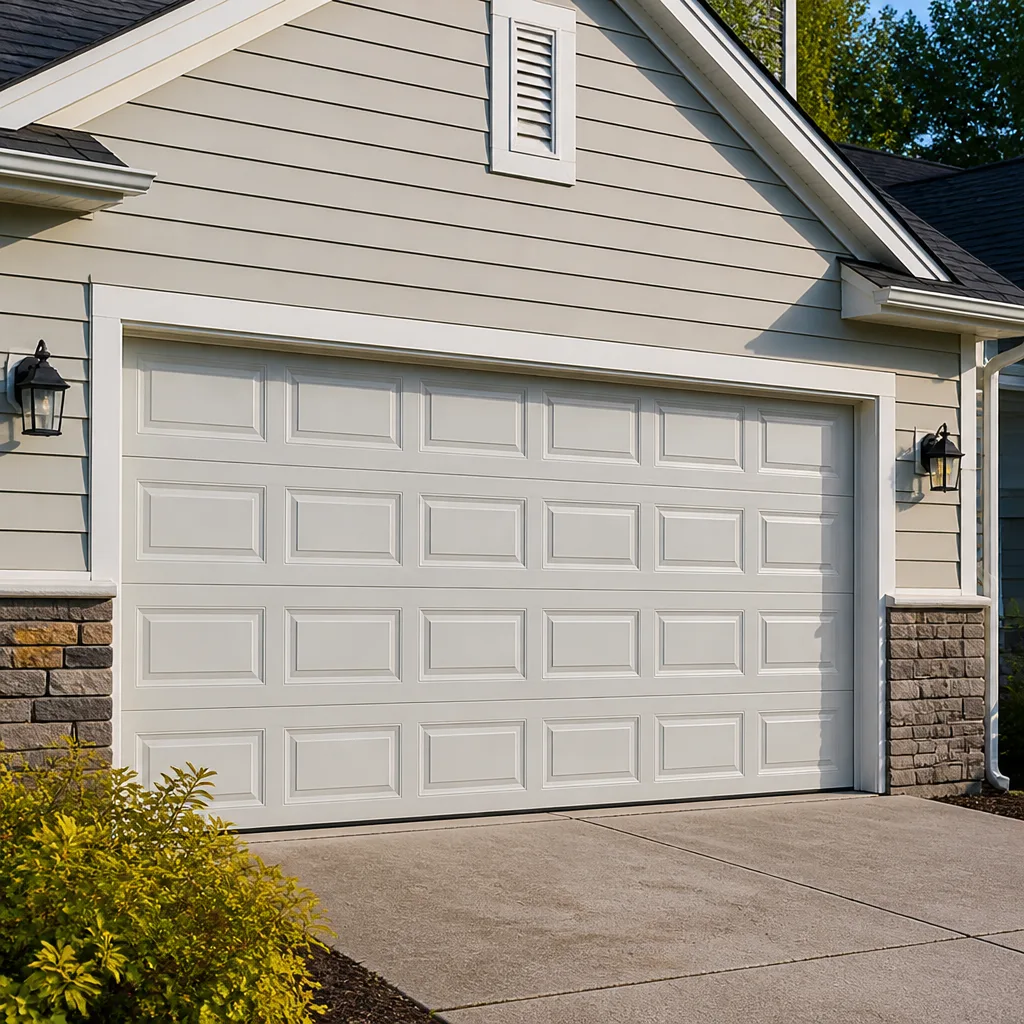 Raised-panel steel
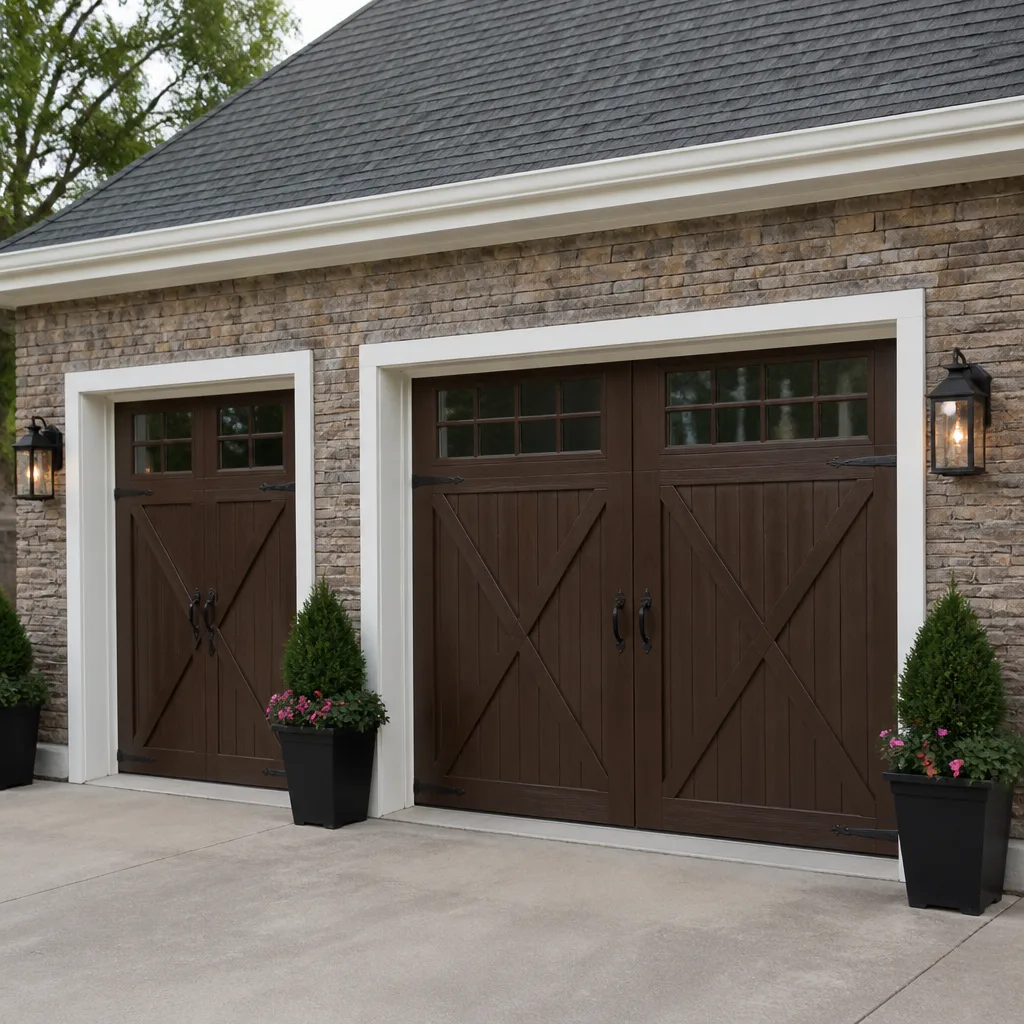 Carriage house
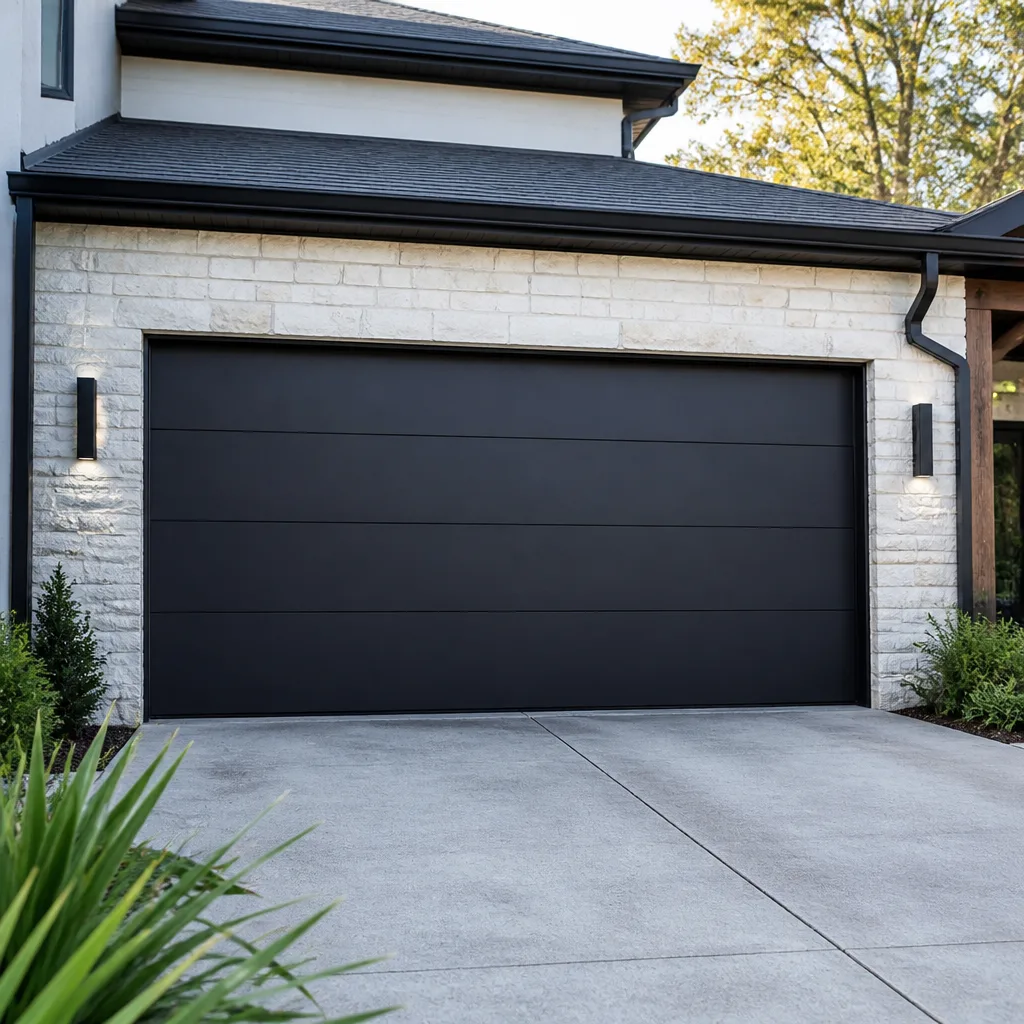 Modern flush
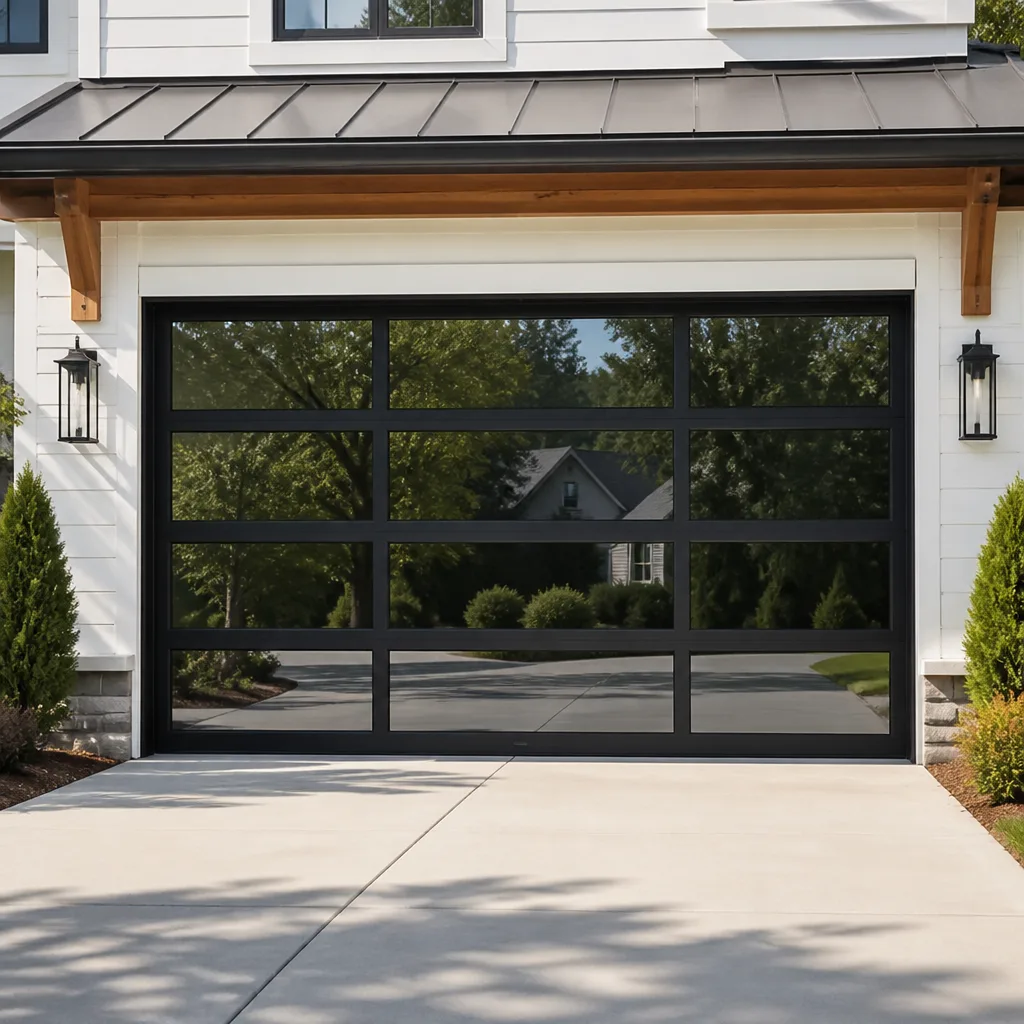 Full-view glass
 LiftMaster openers
 Chamberlain openers
Full 25-point door and opener safety check with every visit - springs, cables, rollers, tracks, and your LiftMaster or Chamberlain opener included
You get a price before we start. It does not change when the pro arrives.
Get your free estimateGarage Door Repair Maintenance Checklist for Upper Arlington Homeowners
A snapped torsion spring costs $150-$300 to fix. The same spring, caught at the end of its service life during a 10-minute inspection, costs nothing extra – you were replacing it anyway. That’s the odd bargain of garage door maintenance: the cheapest repair is always the one you got ahead of. Most homeowners in Upper Arlington only think about their door after something breaks, usually on a morning when the car is already in the driveway and the door won’t budge. This guide is built around preventing the three failures that account for most emergency calls in central Ohio – spring snaps, cable derailments, and opener board failures – and it’s organized by how much time you have, not by month. Ten minutes, an hour, or a yearly once-over. You’ll learn what to check, what to leave alone, and what to write down.
Quick Answer
A solid garage door maintenance checklist for Upper Arlington homeowners covers four things: a visual inspection of the torsion spring for gaps and wear, proper lubrication of hinges, rollers, and tracks with a silicone or lithium-based spray (never WD-40 on the spring), a monthly auto-reverse safety test using the board-on-the-ground method, and a yearly check of weather seals after the summer heat has done its work. Ten minutes of inspection a few times a year prevents most spring snaps, cable derailments, and opener failures. Anything involving the spring, cables, or a door that won’t stay up belongs to a trained technician.
Styles & brands we work with
- Raised-panel steel
- Carriage house
- Modern flush
- Full-view glass
- LiftMaster openers
- Chamberlain openers
Table of Contents
- The 10-Minute Inspection: What to Look At Every Month
- How to Spot Spring Wear Before It Snaps
- Lubrication Points and the Right Products (and the Wrong Ones)
- Testing Auto-Reverse Force with the Board Method
- Weather Seals After Summer Heat Cycles in Upper Arlington
- Cable and Roller Checks That Prevent Derailments
- Opener Diagnostics: When It’s the Board, Not the Door
- What to Log So a Technician Can Read Your Door’s History
The 10-Minute Inspection: What to Look At Every Month
If you do nothing else on this list, do a slow walk-around of the door once a month. Set a reminder on your phone. Ten minutes is enough to catch most of what turns into an emergency call.
Here’s the order that works:
- Run the door and listen. A door in good shape is quiet and steady. Grinding, popping, or a heavy shudder means something’s out of alignment or worn.
- Look at the spring above the door. That’s the coiled metal bar across the top. Check for visible gaps (more on this below) and any rust.
- Check the cables on both sides of the door. They should be taut and seated in their drums at the top corners. A cable that looks slack, frayed, or off its drum is a stop-right-here situation.
- Look at the rollers. They sit in the track brackets on each side. Wobble or flat spots on the rollers mean replacement is due.
- Scan the tracks. They should be straight and clear. Dents or debris caught in the track cause the door to bind.
- Test the balance. With the door closed, pull the opener release cord and lift the door by hand to about waist height. It should hold there on its own. A door that drops is a spring problem.
- Test the auto-reverse. More on the board method below.
In Upper Arlington, doors that face south or west take more sun than the rest. The heat cycling alone wears on seals and lubricant faster on those sides. If your door catches direct afternoon sun, look at it a little more often. If something in that list looks off, that’s the point to call for a look – not after it fails completely.
How to Spot Spring Wear Before It Snaps
The torsion spring is the heavy coiled spring mounted on the shaft above your door. It does the actual lifting; the opener mostly controls it. When it fails, it fails with a bang, and the door drops. This is the one part of the checklist where you look, not touch.
Springs are the most dangerous part of a garage door. We handle spring work so you don’t have to, and that’s not a marketing line – it’s because a wound torsion spring stores an enormous amount of energy, and a slip while adjusting it can cause serious injury. So treat this section as a visual inspection only.
What a gap looks like: A healthy torsion spring is a tight coil. When it’s nearing the end of its life, you’ll see a small separation – a gap of maybe a quarter inch or more – somewhere along the coil, usually near one end. It’s not always dramatic. It’s a thin sliver of daylight in a coil that used to be snug. That gap means the wire has begun to fatigue and it’s on its way out.
Other signs of wear:
- Rust along the coil – rust weakens the wire
- A door that suddenly feels heavier to lift by hand
- Loud popping or snapping noises when the door cycles
- The door lifts a few inches then stops
- Visible sag on one side when the door is partly open
If you see a gap, or the door feels noticeably heavier, stop using it. Don’t spray it, don’t try to tighten anything. Call for agarage door spring repair assessment. A technician can measure the spring’s remaining life and tell you whether to replace it now on your schedule or wait, and replacing a spring as routine maintenance costs less than the emergency call when it snaps at seven in the morning.
Lubrication Points and the Right Products (and the Wrong Ones)
Most garage door wear comes down to friction, and most friction comes down to dry moving parts. Lubricating the right points a couple times a year is one of the highest-value things a homeowner can do. Doing it with the wrong product is worse than doing nothing.
The right products: A silicone-based spray lubricant or a white lithium grease. Both are designed to stay put on metal and not attract grit. For the spring specifically, a dedicated garage door spring lubricant works well. For hinges and rollers, silicone spray is the easiest to apply.
The wrong product: WD-40. It’s the world’s most misused can. On a torsion spring, WD-40 acts more like a solvent than a lubricant – it can strip away the factory coating and leave the spring dry and more exposed to rust. Over time on an Upper Arlington door that faces the weather, that accelerates wear. It’s fine for loosening a stuck bolt. It is not the thing for the spring, the rollers, or the tracks.
Where to lubricate:
- Hinges – one small spray into each hinge joint, both sides of the door
- Rollers – a drop on the bearing of each roller, where it spins in its bracket
- Spring – one light pass along the coil with a spring-safe lubricant
- Track curves – a very light wipe where the door transitions from vertical to horizontal
- Lock and handle – if your door has one, a little grease in the keyway
Don’t spray the inside of the track itself. The door needs to roll freely, and grease in the track picks up grit and causes binding. A dry cloth wipe of the track is all it needs. Two passes a year, spring and fall, is plenty, and it takes about ten minutes once you have the spray.
Testing Auto-Reverse Force with the Board Method
Every garage door opener made since the early 1990s has an auto-reverse feature. It’s a safety mechanism, and it needs testing. The board method is the standard way to do it, and it takes about two minutes.
The board-on-the-ground method, step by step:
- Place a piece of wood – a 2×4 laid flat, or a roll of paper towels works in a pinch – on the floor in the center of the door opening.
- Stand clear of the door.
- Close the door using the wall button or remote.
- As the door contacts the board, it should immediately reverse and go back up.
Pass/fail criteria: The door must reverse within about two inches of hitting the board. If it presses down on the board and keeps going, it fails. If it reverses but only after a visible delay, that’s a fail too.
You should also test the photo-eye safety sensors, the small lenses near the floor on each side of the door. Wave an object in front of them with the door closing. The door should reverse immediately. If either test fails, the opener’s force settings are misadjusted or a sensor is dirty or misaligned. Don’t increase the force setting to “fix” it – that’s like taping over a warning light. A technician can recalibrate it correctly. If your opener is an older model without working safety sensors, it’s worth talking about replacement, and we can look atgarage door opener repair options across brands like Chamberlain and Genie, along with the other units we work on.
Weather Seals After Summer Heat Cycles in Upper Arlington
Upper Arlington summers are warm and humid, and then the first cold snap in October makes every gap in your house announce itself. The bottom weather seal is often the culprit, and it’s one of the easiest things on this list to check.
Vinyl bottom seals are the standard on most residential doors. Over the summer, the sun hits them directly, and the heat cycles cause vinyl to stiffen. When the door presses down onto concrete in that stiffened state, the seal cracks, splits, or flattens permanently. You might not notice until winter, when you feel a draft along the floor inside the garage or see daylight under the door.
How to check your seals:
- Bottom seal: Look at the strip along the bottom of the door. Any cracks, tears, or a compressed flat spot means replacement is due. Close the door and look from inside – any daylight is a fail.
- Side and top seals: Check the trim strips on the frame. They should sit snug against the door with no visible gaps or hard, brittle spots.
- Threshold: Look at the concrete lip the door seals against. A cracked or uneven threshold lets water in and keeps the seal from doing its job.
Replacing a bottom seal is inexpensive compared to anything else on this checklist. It’s also something you can do yourself for a simple press-in style, though a nailed or track-mounted seal is worth having installed. If you notice the door doesn’t close evenly or seals only at one side, that’s a sign of an alignment problem underneath, and it’s worthgarage door repair doing a proper look before the cold sets in.
Cable and Roller Checks That Prevent Derailments
Cable derailments are the second big failure in central Ohio. A cable snaps or jumps off its drum, the door drops or jams at an angle, and suddenly it’s stuck and possibly unsafe. Most derailments start as a small cable problem you could have caught.
What to check:
- Cable tension: With the door closed, both cables should feel taut and look straight. A hanging cable, even a slack one, is a warning.
- Cable condition: Look for frayed strands, kinks, or rust. A cable with visible fraying is close to failure.
- Drum seating: Each cable should be neatly wound in its drum at the top corner. Cable piled on one side or slipped off the drum means the door’s balance is off.
- Rollers: Check each roller for wobble or flat spots. A frozen roller drags, strains the door, and eventually jumps the track.
- Track condition: Look for dents, misalignments, or debris. Tracks can be knocked out of alignment by a car bumper or just by time.
Never touch a cable that’s under tension. A cable carries the same force as the spring, and a snap can whip it with enough speed to cause injury. If anything above looks off, stop and call. A technician has the tools to safely release the tension, replace the cable, and rebalance the door.
This is also where the road salt and grit from Upper Arlington winters take their toll. Even a few months of road salt kicked up by the tires speeds up corrosion on cables, rollers, and hinges. Washing the inside of the garage floor after the salt season, and cleaning the tracks once the grit builds up, slows that down measurably.
Opener Diagnostics: When It’s the Board, Not the Door
Not every problem is the door. Sometimes the door’s fine and the opener isn’t. Knowing the difference saves a call, or at least gets the right technician to the right place.
Signs the opener is the problem:
- The door works by hand but doesn’t respond to the button or remote
- The opener clicks or hums but doesn’t move the door
- Only one remote works, or none do
- The wall button works but the remote doesn’t (or vice versa)
- The opener loses its settings after a power outage
- The unit runs but the door only moves a few inches and reverses
Circuit board failure is one of the three big emergency causes, and it often shows up on older units after a voltage spike or just at the end of a long service life. Wall-button versus remote failures point to a remote or receiver problem, not the board. Both are repairable on many units, especially across the brands we’re factory-familiar with – LiftMaster, Chamberlain, Genie, Craftsman, and the rest of the eight lines we work on.
If your opener has a Wi-Fi or smart-home connection, it’s worth checking after any router change. Many modern units need to be re-added to the home network, and a call that turns out to be a network reset is a frustrating one. Test the door on the wall button first, then on the remote, then on the app. The pattern tells a technician a lot about what’s actually wrong.
If the unit is powering but not responding, or the logic is behaving erratically, call a pro. Opener wiring is mains electrical, and that’s not a homeowner repair. You can read more aboutgarage door opener repair options if you’re not sure whether repair or replacement makes sense for your unit.
What to Log So a Technician Can Read Your Door’s History
Every technician who visits your door starts from scratch unless you keep a record. That record is more useful than most homeowners realize. A cumulative wear history tells us whether a door is on its first spring or its third, whether it’s been rebalanced, and whether a recurring problem is actually a new one.
What to keep:
- Service dates and what was done – spring replaced, cable replaced, opener repaired, door realigned
- Brands and model numbers – the door manufacturer (Clopay and Amarr are common in this area, but many others are out there) and the opener brand (LiftMaster, Chamberlain, Genie, Craftsman)
- Serial numbers – usually on a sticker on the door panel and inside the opener housing
- Warranty status and expiration dates – spring and opener warranties vary widely
- What you notice, when you notice it – “door started popping in March,” “remote stopped working after the storm”
- The results of the auto-reverse test – pass/fail each time you run it
Keep this on a sheet taped inside the garage, or a note in your phone’s notes app. When a tech arrives, hand it over. It turns a diagnostic visit into a targeted one, and it saves everyone time. A door with a documented history is also easier to advise on: we can tell you when the springs are likely to be due rather than guessing, and we can spot a pattern (like the same roller failing twice) that a one-visit assessment would miss. It’s a small habit that pays off across the life of the door.
Common Mistakes to Avoid
- Spraying WD-40 on the spring. It strips the coating and leaves the spring dry, which speeds up rust on doors facing the weather. Use a silicone or spring-safe lubricant instead.
- Greasing the inside of the track. Grease traps grit in the track and causes binding. Wipe the track clean and dry; leave the rollers to be lubricated at their bearings.
- Increasing the opener’s force setting to fix a reversing door. The force setting exists for safety. If the door reverses when it shouldn’t, the mechanism needs adjustment, not a force override.
- Ignoring a small gap in the torsion spring. That quarter inch is your warning. Caught now, the spring is a scheduled replacement; caught later, it’s an emergency and possibly a damaged door panel.
- Touching cables or springs to “check” them. Both are under high tension. Anything that requires contact with the spring or cable is a technician’s job, not yours.
- Skipping the seal check after a hot Upper Arlington summer. Vinyl stiffens and cracks against the concrete, and you won’t notice the draft until winter if you don’t look in the fall.
- Not keeping a service log. Without one, every technician starts from scratch, and you can’t tell whether a recurring noise is a new problem or an old one that was never fully fixed.
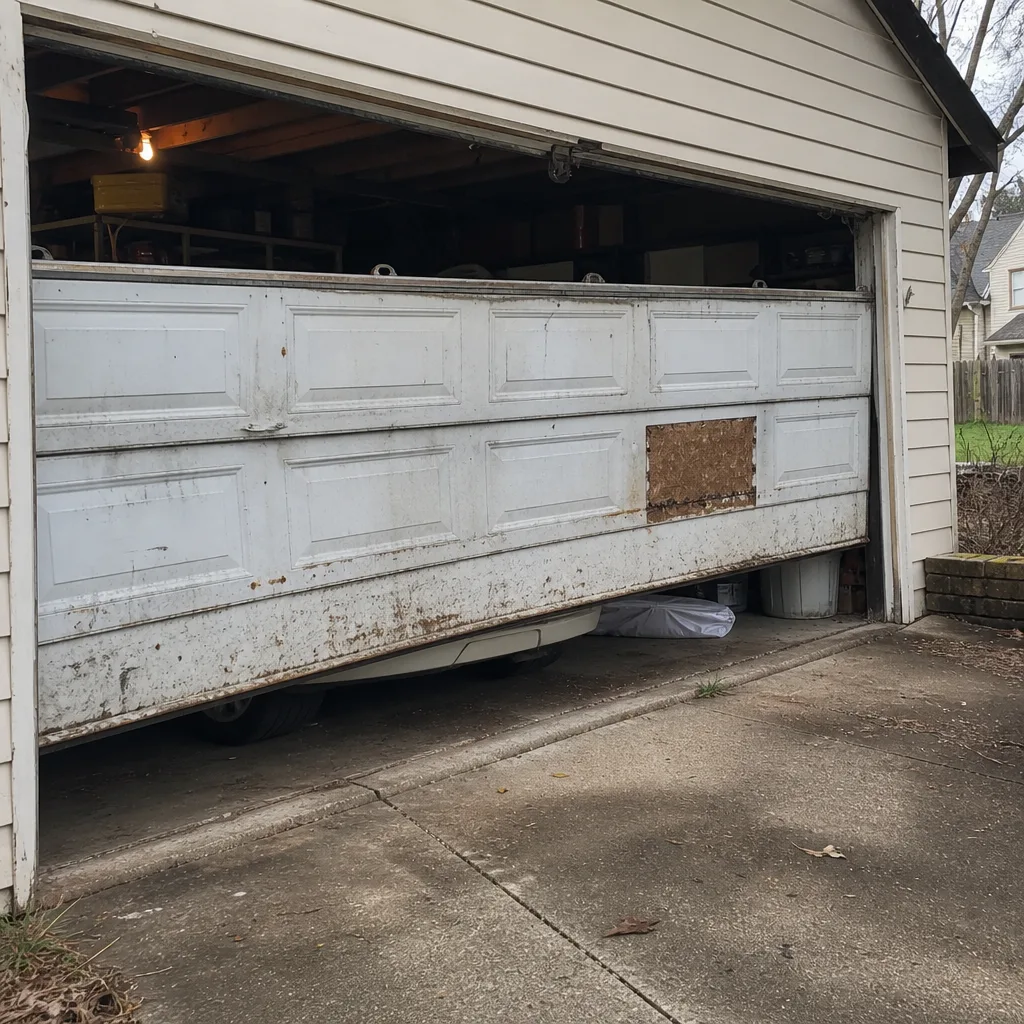
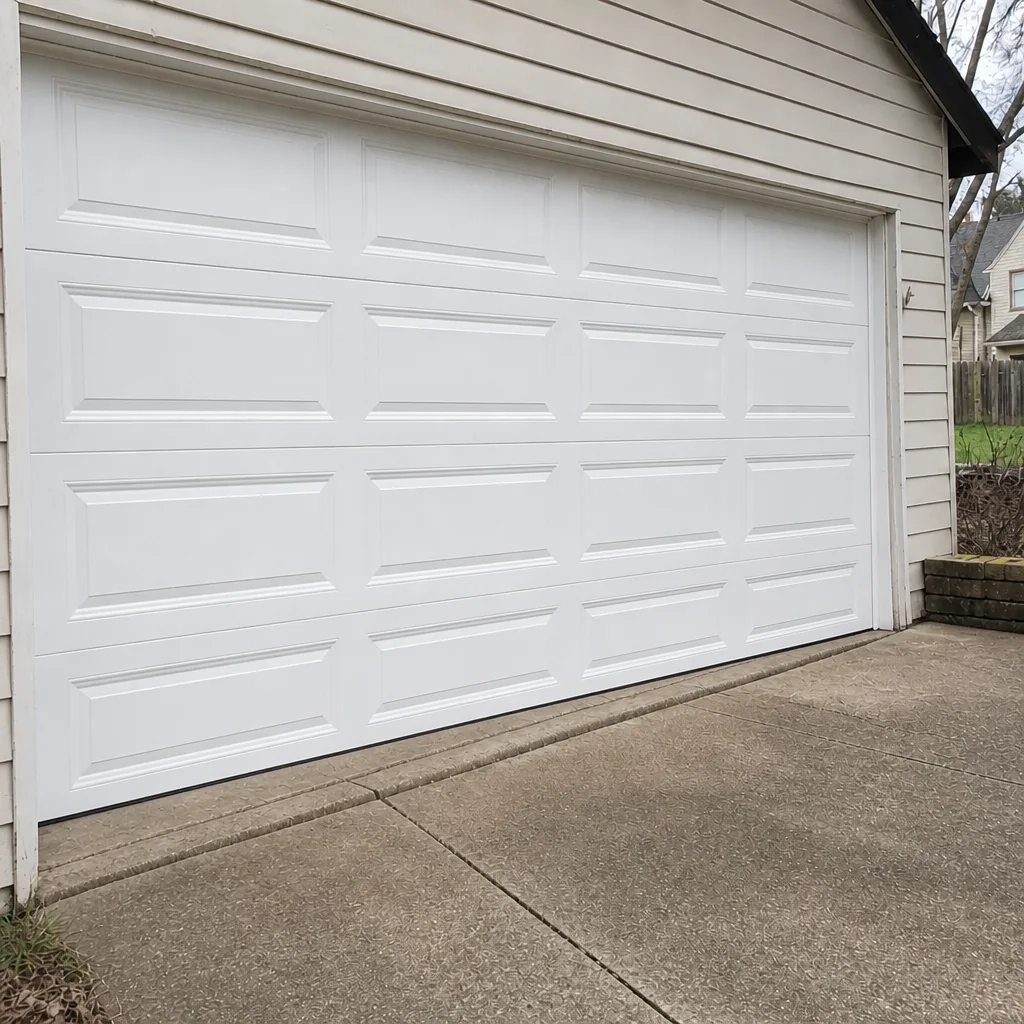
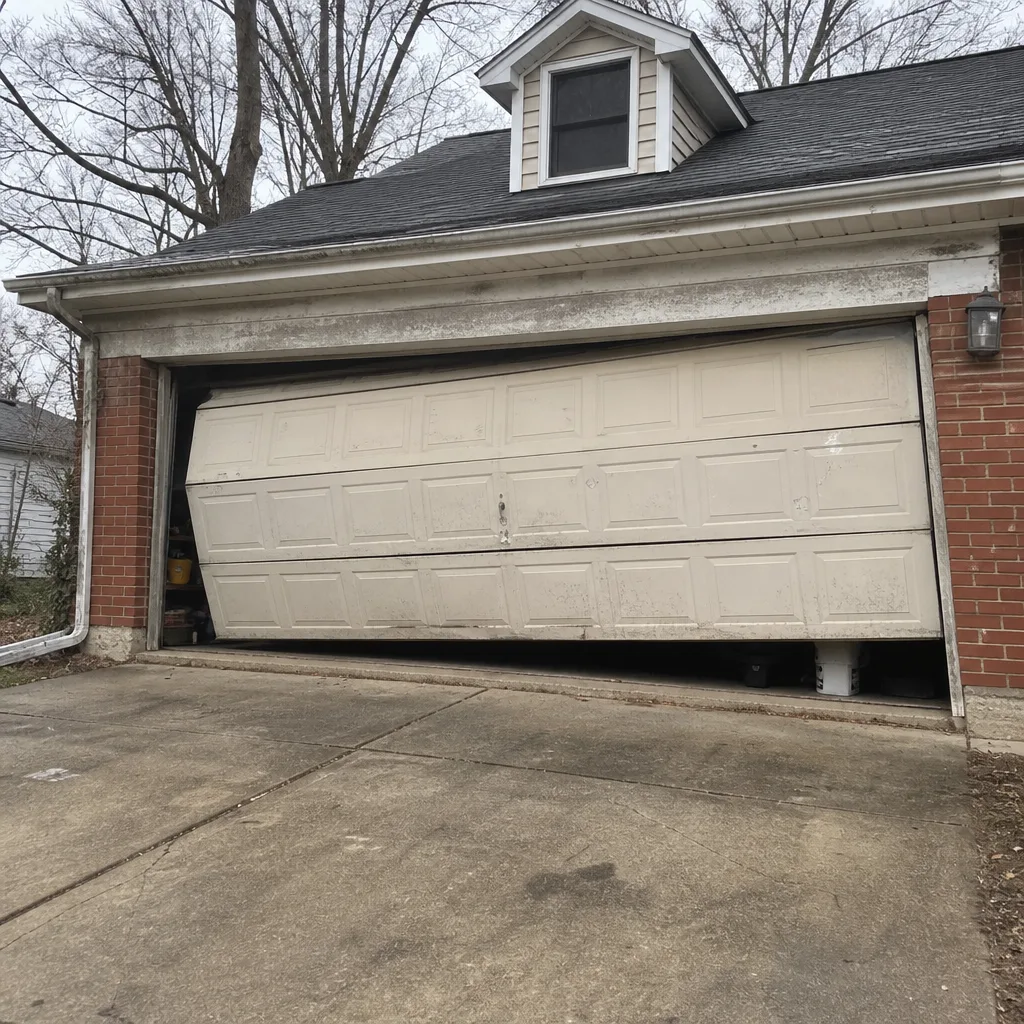
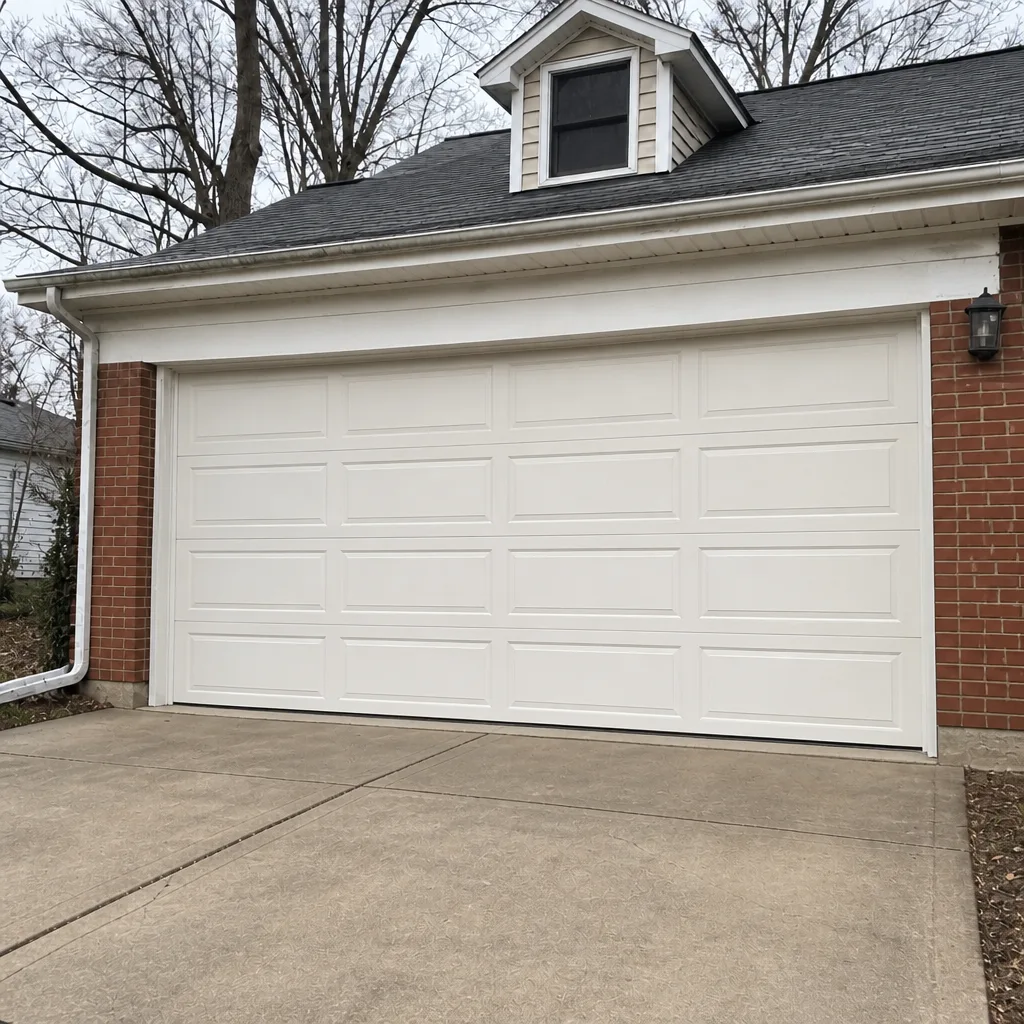
See the difference
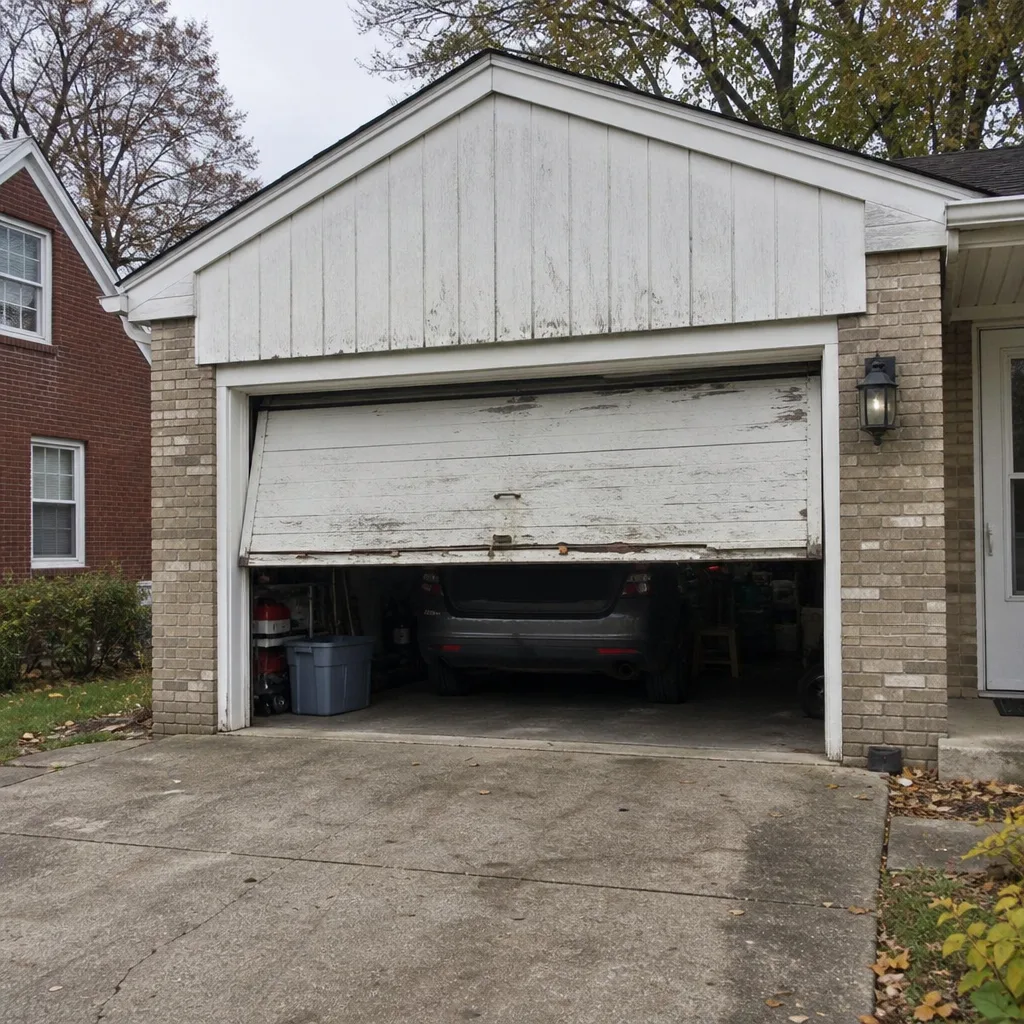 Before
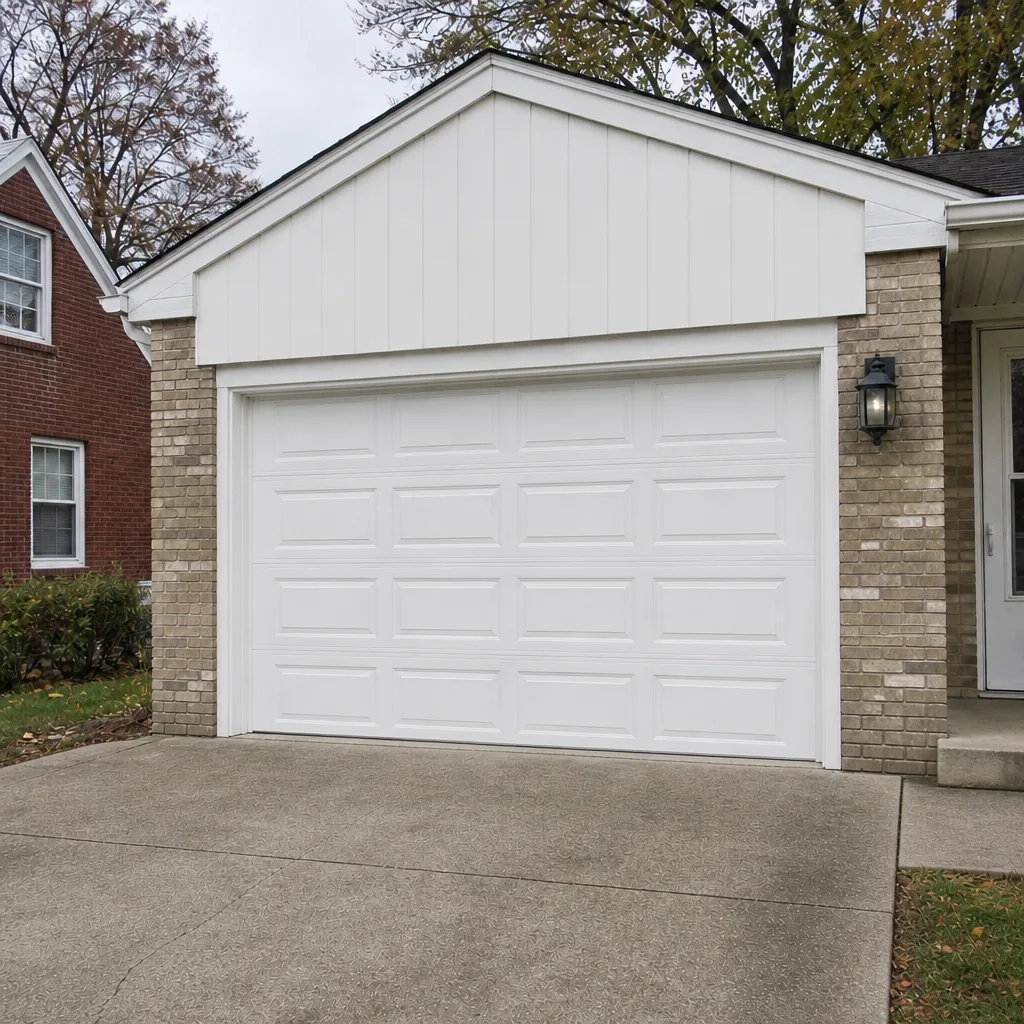 After
 Before
 After
 Before
 After
When to Call a Professional
Some items on this list are homeowner checks. Some are strictly professional. Call a pro if you see a gap or rust in the torsion spring, if a cable is slack or frayed, if the door drops when you lift it by hand, if the auto-reverse test fails, or if the opener hums but doesn’t move the door. These are the three emergency-call categories – springs, cables, and opener boards – and all three carry risk. Our technicians have up to 13 years of experience, and we’re factory-familiar with the major brands, so we can diagnose and source the right part for Clopay, Amarr, LiftMaster, Chamberlain, Genie, Craftsman, Wayne Dalton, and Raynor equipment. Garage Door Repair Upper Arlington offers free estimates in Upper Arlington – call (844) 554-0042. Upfront pricing and the written estimate come before any work starts.
Frequently Asked Questions
A short visual check once a month, lubrication twice a year (spring and fall), and a full checklist once a year. In our experience, the three common failure points – springs, cables, and opener boards – all give warning signs weeks before they fail. A consistent monthly look is usually enough to catch them.
Yes, a light pass with a silicone or spring-safe lubricant is a homeowner-level task. What you shouldn’t do is use WD-40, which acts more like a solvent and can strip the coating and leave the spring more exposed to rust. Visible rust or a gap in the coil means it’s time to call for a professional look, not to lubricate it.
A gap in the coil usually means the spring has started to fatigue and is getting close to snapping. It may be a quarter inch or so, and it’s easy to miss. Once you see a gap, stop using the door and call for an assessment – a scheduled spring replacement is far less stressful than a door that fails on a morning when your car is behind it.
The door works by hand but nothing happens when you press the button, the opener hums without moving the door, or the remote and wall button both fail while the unit still has power. Circuit board failure is one of the three most common emergency causes we see. It’s diagnosable in a single visit and usually fixable on the brands we work with, including LiftMaster, Chamberlain, and Genie.
Stop using the door and call for a professional adjustment. A door that presses a 2×4 and keeps going is a safety problem, and adjusting the force setting is not a fix. A technician can recalibrate the opener and check the photo-eye sensors at the same time.
The summer heat cycles here stiffen vinyl seals, and the concrete threshold they press against can crack over time. Once a seal stiffens and splits, it only gets worse through the winter. Check the bottom seal from inside each fall – any daylight visible under the closed door means it needs replacing. It’s one of the least expensive items on this list.
The Bottom Line
Most of what brings a garage door down is preventable, and it’s preventable in minutes. A visual scan of the spring for gaps, proper lubrication with the right product, a monthly auto-reverse test, and a fall pass on the weather seals keep the three biggest emergency calls off your list. Add a simple service log so a technician can read your door’s wear history instead of guessing. For anything that touches the spring, cables, or opener board, call a pro – those aren’t homeowner repairs. If something on your checklist turned up a warning sign, or you’d rather have someone look the whole door over, garage door repair Upper Arlington is what we do. Our technicians have up to 13 years of experience. Call (844) 554-0042 for a free estimate.
Written by the team at Garage Door Repair Upper Arlington.